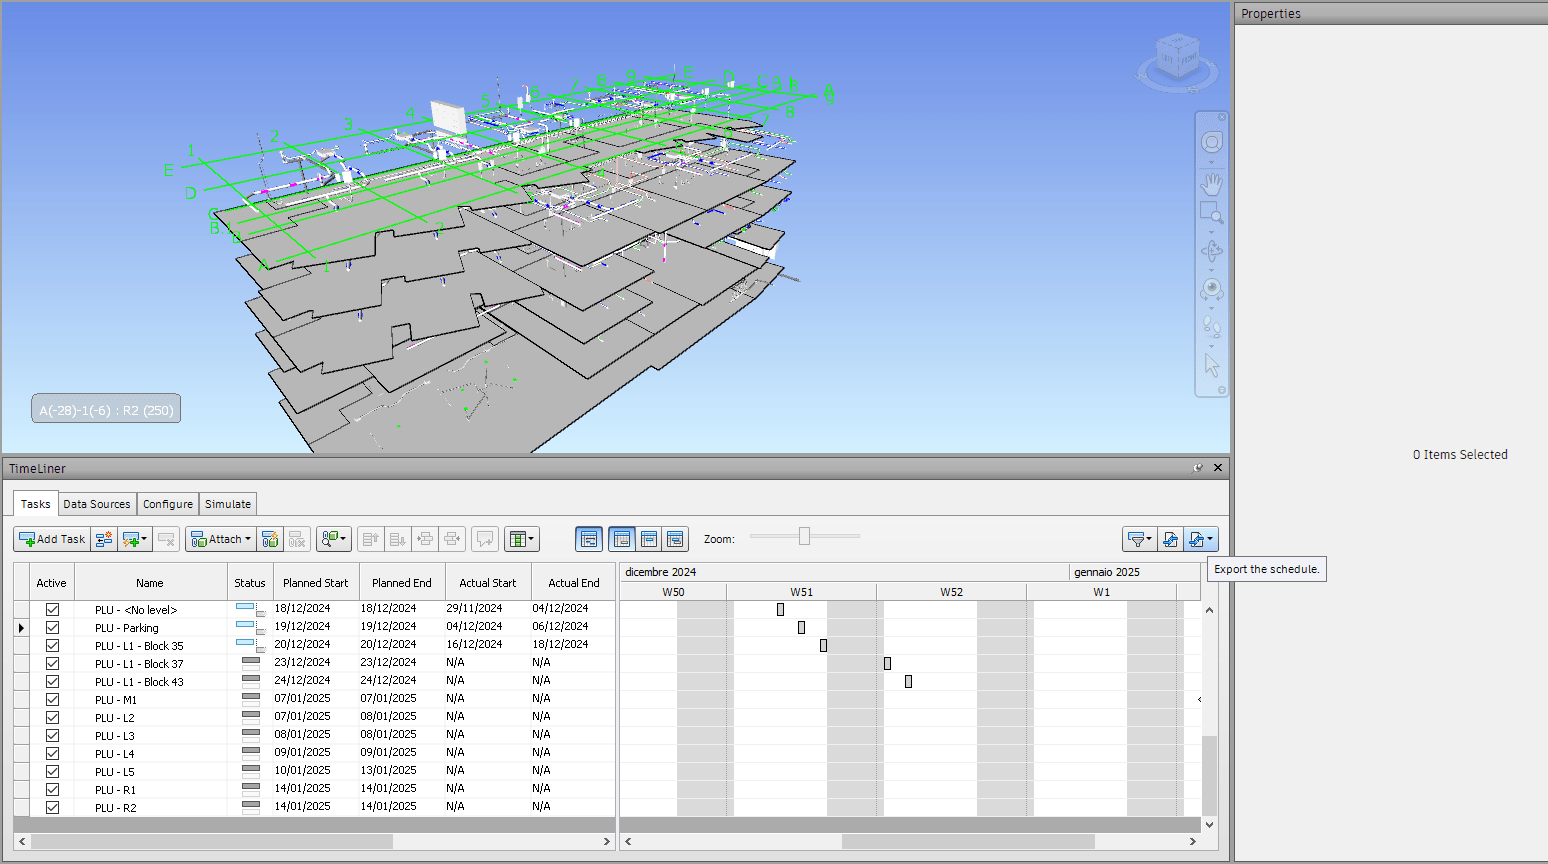
Navisworks Timeliner provides a powerful way to schedule and visualize construction tasks in a 4D environment. Leveraging this data in Power BI can provide enhanced insights and reporting capabilities. In this guide, we will walk through the steps to use Vcad to integrate Navisworks Timeliner data into Power BI.
Step 1: Export Timeliner Data from Navisworks
- Open your Navisworks model.
- Navigate to the Timeliner tab.
- Click on Export and choose the CSV format.
- Save the file to your desired location. This file contains task-level data, including task names and schedules.
Step 2: Define Quick Properties for Sets Assigned to Timeliner Tasks
To associate elements with Timeliner tasks, we need to define quick properties for the sets linked to these tasks.
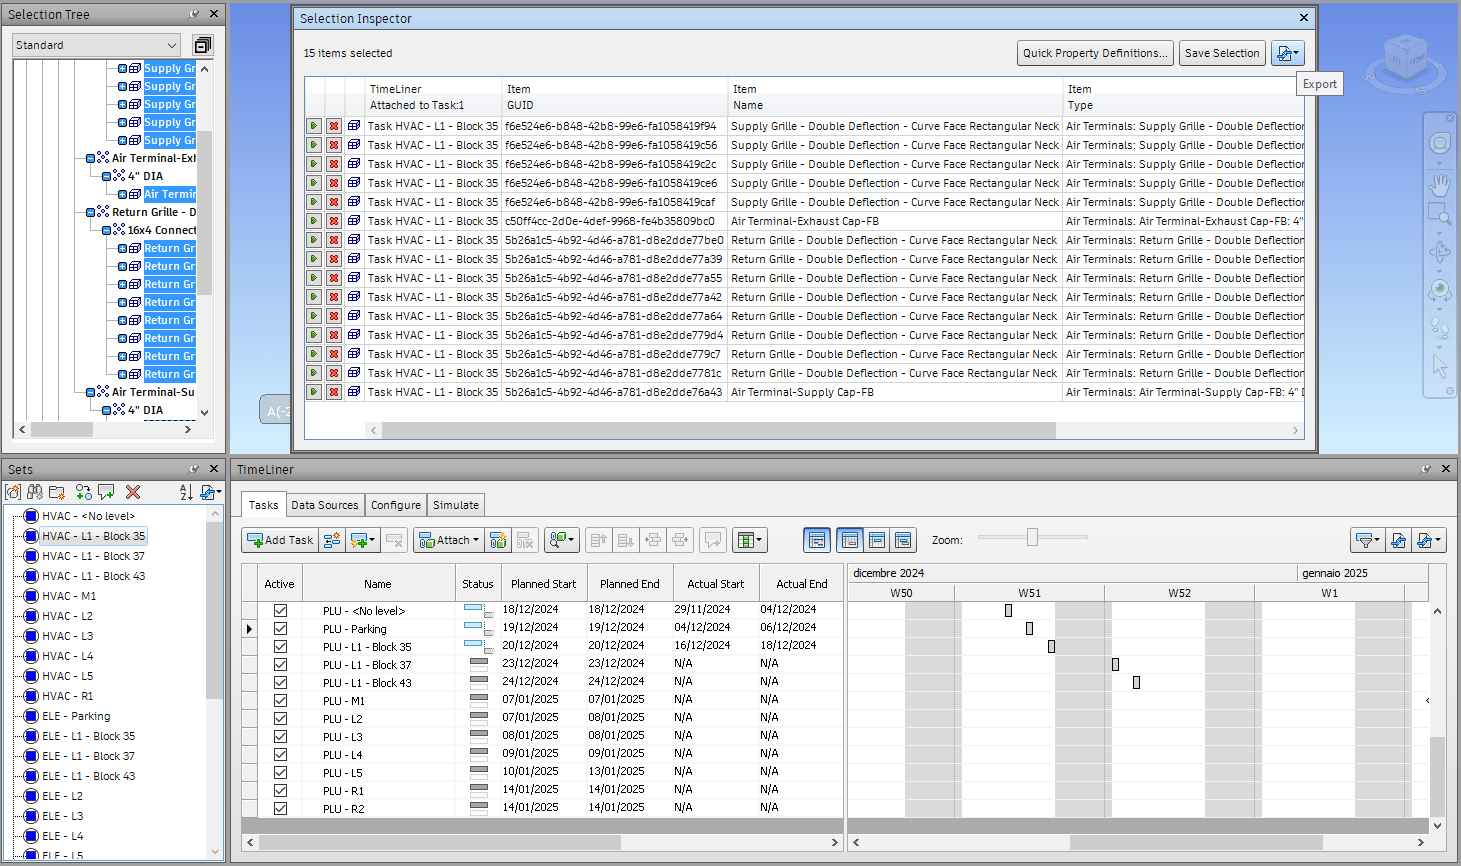
- Select the Sets:
- In Navisworks, select the sets assigned to your Timeliner tasks from the Sets tab.
- Use the Selection Inspector to Add Quick Properties:
- Open the Selection Inspector (View > Window > Selection Inspector).
- For the selected sets, use the Selection Inspector to add and review quick properties.
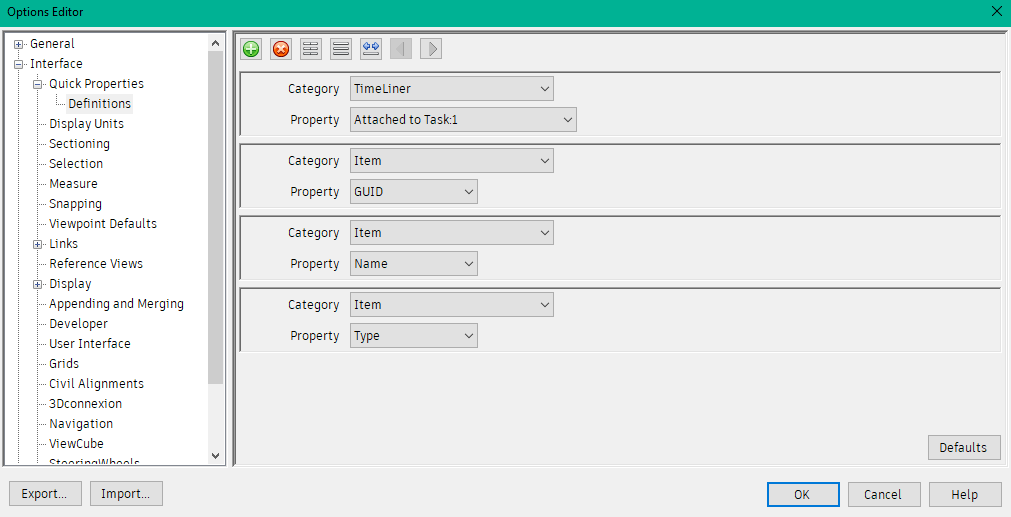
- Include Key Quick Properties:
- Item GUID: This unique identifier links items in Vcad.
- Timeliner Attached To: Indicates the task each set is linked to.
Step 3: Export Selection Inspector Data as a CSV File
- In the Selection Inspector, click on Export.
- Save the data as a CSV file. This file will map items and their GUIDs to their corresponding Timeliner tasks.
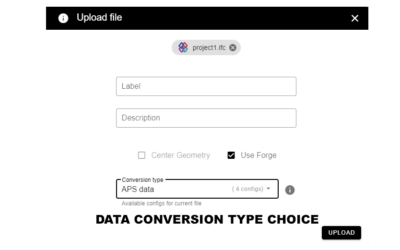
Step 4: Import the Exported Data into a Vcad Template
- Open one of the Vcad Templates for your Navisworks model.
- Import both CSV files (Timeliner data and Selection Inspector data) into the template.
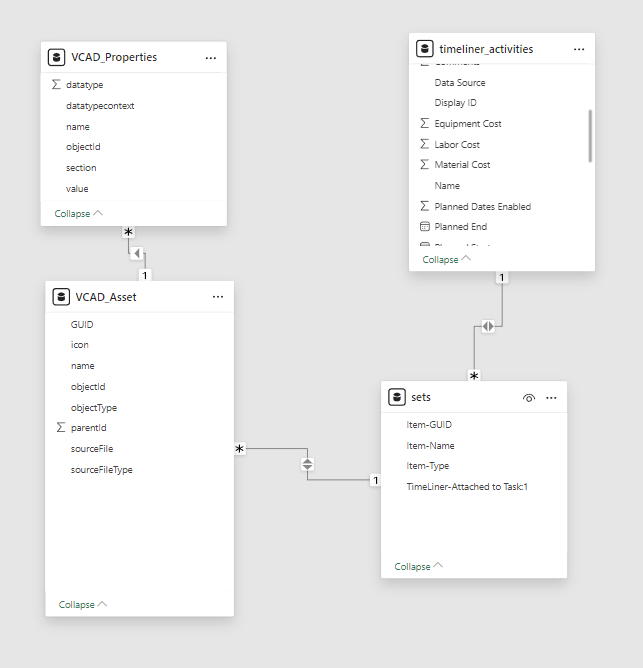
Step 5: Transform Vcad Datasets to Identify Each Item’s GUID
- Using Power BI’s transformation tools, extract the item’s GUID from the VCAD_Properties dataset.
- This information should be related to the VCAD_Assets dataset either by merging it in or by creating a relation between the datasets.
Step 6: Connect the Datasets
- Use the Item GUID field to join the Vcad data with the Selection Inspector data.
- Establish a relationship between the Selection Inspector data and the Timeliner data.
- Use the Timeliner Attached To property to link the data through the task name.
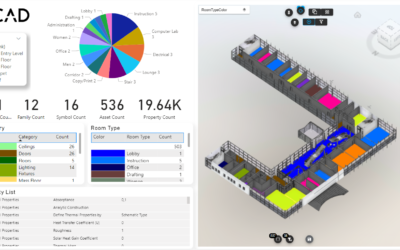
- Create visuals to analyze task schedules, item assignments, and project progress.
Conclusion
By following these steps, you can integrate Navisworks Timeliner data into Power BI using Vcad.
This approach enables you to create dynamic and insightful reports that bridge the gap between 4D scheduling and advanced data analytics. For further assistance, explore Vcad’s support resources or reach out to our team.